Choose the workflow that removes the most production friction without creating a heavier process than the team can maintain.
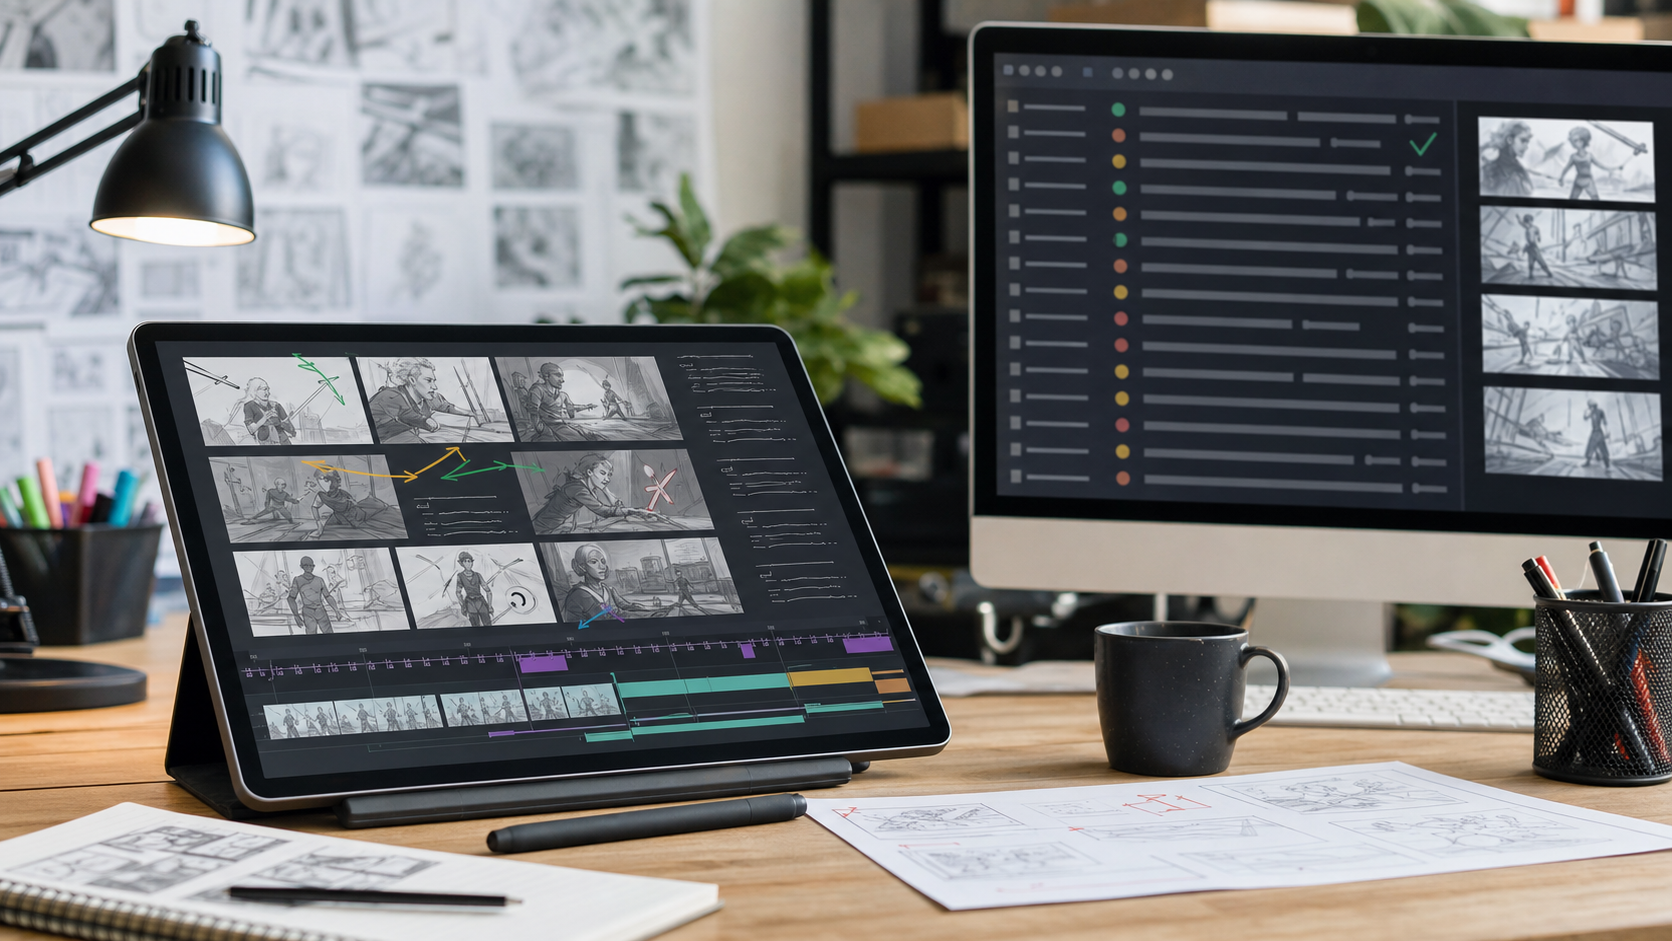
A good storyboarding workflow for animatics and review loops does more than arrange drawings in order. It gives the animation team a shared way to test story logic, pacing, camera movement, sound cues, and approval status before production time is spent on finished animation.
That matters because storyboarding sits between creative exploration and production control. Too little structure and the team loses decisions in scattered comments. Too much process and early ideas become slow to change. The right workflow keeps rough boards flexible while making each review round specific enough to act on.
This guide is written for animation teams, studios, agencies, educators, and independent creators comparing practical workflow shapes. It does not claim firsthand testing of any tool. Product references are based on official published pages, and the editorial approach follows Gwanimation’s review standards described in our editorial policy. For more context on who this site is for, see about Gwanimation.
What Storyboarding Has to Solve
Storyboarding has four jobs in an animation pipeline.
First, it turns a script or concept into visual continuity. Each panel shows what the viewer needs to understand: staging, character action, shot size, screen direction, transitions, and major emotional beats.
Second, it exposes timing problems early. A scene that reads well in a script can feel slow once panels are held on screen. A gag may need fewer beats. A product explainer may need a clearer visual setup before the voiceover lands. This is where animatics become useful.
Third, it creates a shared review object. Directors, clients, producers, editors, and animators can react to the same sequence instead of interpreting separate notes. The review loop should make it obvious which comments affect story, which affect timing, and which are production polish.
Fourth, it prepares handoff. Boards need to become shot lists, panels, timing references, audio guides, and sometimes exports for editing or animation software. That handoff is where a casual sketching process often breaks down.
If you are also mapping the broader production sequence, pair this guide with our animation workflow guide.
The Core Workflow
A practical storyboard workflow usually moves through seven stages.
- Brief and constraints
- Script or outline breakdown
- Thumbnail boards
- Cleaned storyboard pass
- Animatic assembly
- Review and revision loop
- Production handoff
The important point is not that every team uses the same labels. The important point is that each stage has a clear output. A thumbnail stage should answer composition and story questions. A cleaned board stage should make the sequence readable to reviewers. An animatic stage should test timing. A handoff stage should reduce ambiguity for animation, editing, and sound.
For 2D-focused teams, the connection between board structure and production method is especially close. See our guide to 2D animation workflows for how boards connect to layout, rigging, frame-by-frame animation, and compositing.
Stage 1: Define the Review Target
Before drawing, decide what the first review is meant to approve.
Some projects need story approval: does the sequence communicate the right idea? Some need client approval: does the concept match the brief and brand constraints? Some need timing approval: does the edit feel right with voiceover or music? Some need production approval: are the shots clear enough to estimate, assign, and animate?
This decision affects how polished the first boards should be. If the goal is story direction, rough thumbnails may be enough. If the goal is client approval, panels may need cleaner poses, clearer staging, and more explicit notes. If the goal is timing, you need an animatic rather than a static board.
A common mistake is asking for final-style feedback on rough boards without saying what the roughness means. Another is sending polished boards too early, which makes reviewers hesitate to request structural changes. The review target should be stated in plain language at the top of each round.
Stage 2: Break the Script Into Shots
A storyboard is not just illustrated script paragraphs. It is a shot plan.
Break the script into beats, then decide where the camera changes, where the viewer needs a new piece of information, and where the rhythm should shift. For each shot, capture the minimum useful data: shot number, panel number, action, dialogue or voiceover reference, camera note, duration estimate, and open questions.
For short explainers, the shot list may be simple. For character animation, boards often need more acting notes. For product or tool walkthroughs, the board may need callouts showing what the audience should notice. For social video, aspect ratio and framing are part of the storyboard decision from the beginning.
At this stage, speed matters. Use loose drawings, text notes, or template blocks. The point is to find the sequence, not to decorate it.
Stage 3: Choose the Right Tool Shape
There is no single best storyboard tool for every team. The better question is which workflow shape fits the project.
Dedicated production tools are useful when boards need to become animatics, shot lists, camera moves, and production exports. Toon Boom’s official Storyboard Pro page positions it as software for storyboarding and animatics, with features aimed at drawing, camera work, timeline development, and production pipeline use: Toon Boom Storyboard Pro.
Lightweight desktop tools can fit early-stage creators who want quick sketching and simple board creation without a full production environment. Wonder Unit’s official Storyboarder page presents Storyboarder as a fast, free tool for visualizing stories: Wonder Unit Storyboarder.
Online storyboard platforms can suit teams that need browser-based collaboration, client-facing boards, and structured exports. Boords describes its product around online storyboarding, animatics, collaboration, and sharing workflows: Boords.
Template-led planning can work when the main need is visual organization rather than full animatic production. Milanote’s official storyboard template page presents a structured board format for planning scenes and arranging visual references: Milanote Storyboard Template.
For a tool-by-tool comparison, see our storyboard tools comparison and our broader list of animation software.
Stage 4: Build the First Readable Board
Once the rough order works, create a readable storyboard pass. “Readable” does not mean final illustration. It means another person can understand the scene without you explaining every panel live.
A readable board usually has clear silhouettes, consistent screen direction, basic background orientation, action arrows where useful, camera notes, dialogue references, and shot numbering. If a panel depends on movement, show the start and end state or add an extra panel. If the camera move matters, mark it clearly rather than leaving it as a spoken note.
For animation teams, readability includes timing intention. A held reaction shot, a fast cut, and a slow camera push may all look similar as static panels. Add duration estimates or timing notes before the animatic stage so the editor or director understands the intended rhythm.
The first readable board should also identify unresolved questions. These might include unclear transitions, missing audio, uncertain character business, legal or brand constraints, or a scene that needs approval before more detail is added.
Stage 5: Turn Boards Into an Animatic
An animatic is where the storyboard becomes time-based. Panels are placed on a timeline with approximate durations, audio, temporary sound, camera moves, and sometimes basic transitions. The goal is not final animation. The goal is to test whether the sequence works in time.
For many teams, this is the most important review object. Static boards can hide pacing issues. Animatics reveal them quickly.
A good animatic review asks specific questions:
- Does the story read without extra explanation?
- Are the shot lengths appropriate?
- Does the audio lead or follow the visuals correctly?
- Are camera moves helping the scene or adding confusion?
- Are there too many panels for the available runtime?
- Does the ending land clearly?
Do not overload the animatic with unnecessary polish. If the team starts judging final artwork, color, or cleanup during timing review, the round can lose focus. Label the version clearly as a timing or structure animatic.
Stage 6: Run Review Loops Without Losing Decisions
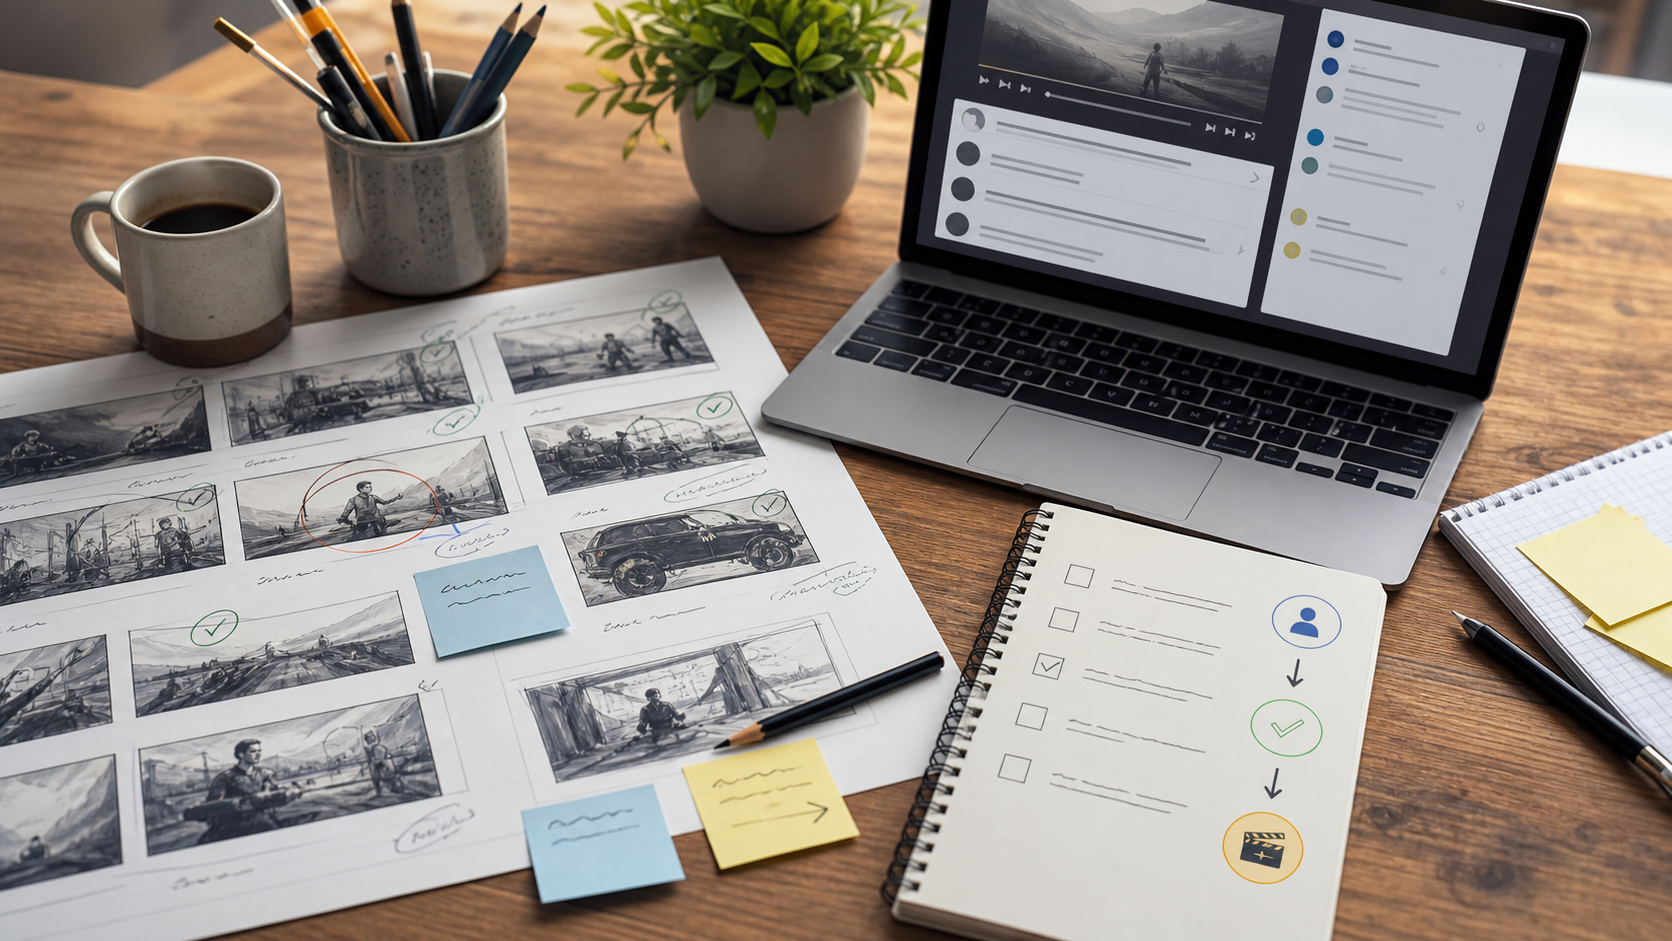
Review loops fail when feedback is vague, duplicated, or disconnected from the frame being discussed. A reviewer saying “this part feels slow” is useful only if the team knows which shot, which timestamp, and what decision is being requested.
Frame-specific review tools can help here. Frame.io’s official Review and Approval page describes review features built around feedback, comments, and approval workflows for creative media: Frame.io Review and Approval. For storyboard and animatic teams, the principle is important even if the exact tool varies: feedback should be attached to the relevant moment, then tracked through resolution.
A disciplined review loop has five parts.
First, publish one version as the current review version. Avoid sending multiple parallel files unless each has a clear purpose.
Second, state what kind of feedback is wanted. Story, timing, character action, client messaging, and production feasibility are different review categories.
Third, collect comments in one place. Email chains, chat threads, document comments, and call notes can all contain valid feedback, but someone needs to consolidate them into the board or animatic task list.
Fourth, resolve conflicts before revising. If one stakeholder wants a slower product reveal and another wants a shorter runtime, the storyboard artist should not guess silently.
Fifth, label the next version with what changed. Reviewers need to know whether they are seeing a timing revision, a story restructure, or a cleanup pass.
Stage 7: Prepare the Production Handoff
A storyboard handoff should reduce production risk. It should not simply transfer a pile of images.
The handoff package may include the latest animatic, storyboard panels, shot list, audio track, dialogue script, camera notes, duration estimates, client approval status, unresolved questions, and any style or reference notes that affect animation. For larger teams, it may also include file naming rules, aspect ratio, resolution, frame rate, and department assignments.
The exact deliverables depend on the animation method. A motion graphics explainer may need a clean edit reference and asset list. A character-driven 2D short may need stronger acting notes and layout references. A mixed live-action and animation project may need review alignment between editorial and animation departments.
The key is to avoid hidden knowledge. If a decision was made during review, put it in the handoff notes. If a shot is approved but the camera move is still tentative, mark that. If timing is locked but artwork is not, say so.
Fit Guide: Which Workflow Fits Your Team?
Choose a lightweight template workflow if your project is short, early-stage, or mostly internal. This can work well for pitches, classroom assignments, rough concept planning, and simple social videos. Milanote-style boards or slide-based layouts can be enough when timing is not the primary risk.
Choose a dedicated storyboard-to-animatic workflow if timing, camera movement, and production handoff are central. This is where tools like Storyboard Pro or other production-oriented software make sense, especially for teams that need drawing, timeline, export, and shot organization in one environment.
Choose an online collaborative workflow if stakeholders are remote, client review is frequent, or comments need to stay visible across versions. Boords-style online storyboarding and review platforms can reduce friction when the board itself is part of the approval process.
Choose a media review workflow alongside your storyboard tool if animatics are reviewed by clients, producers, or distributed teams. A review-and-approval platform can keep comments tied to the correct moment in the edit, which is especially useful once the storyboard becomes a timed video.
Many teams combine these shapes. They may thumbnail in a drawing app, organize in a storyboard tool, export an animatic, and review in a dedicated video platform. That is normal. The workflow should make decisions clearer, not force every task into one application.
Common Mistakes
The first mistake is polishing too early. Clean drawings can make weak story structure look more finished than it is. Keep early boards loose enough to revise.
The second mistake is treating the animatic as a formality. The animatic is the pacing test. If the team skips it, timing problems often move downstream into animation, where they cost more to fix.
The third mistake is accepting scattered feedback. Review comments need ownership, status, and a version. Otherwise, old notes keep resurfacing and new notes get missed.
The fourth mistake is failing to distinguish approval types. A client may approve the message but not the timing. A director may approve the timing but still want acting changes. A producer may approve the direction but flag budget concerns. Write down what is actually approved.
The fifth mistake is weak handoff. If animators receive boards without timing, audio, or shot intent, they have to reinterpret decisions that should already be settled.
Source Notes
This guide references official product pages for workflow context. Toon Boom’s Storyboard Pro page is used as a source for production-oriented storyboarding and animatic capabilities. Wonder Unit’s Storyboarder page is used as a source for lightweight story visualization positioning. Boords’ official site is used for online storyboarding and collaboration positioning. Milanote’s storyboard template page is used for template-based planning context. Frame.io’s Review and Approval page is used for review-loop and approval workflow context.
These source notes are included to separate published product positioning from Gwanimation’s editorial guidance. No firsthand testing claim is made in this article.
Bottom Line
A strong storyboarding workflow for animatics and review loops gives each stage a job. Rough boards find the story. Clean boards make the sequence readable. Animatics test timing. Review tools capture decisions. Handoff notes protect production from ambiguity.
The best setup is not always the most complex one. It is the one that lets your team answer the next production question with the least confusion: what is the shot, what is the timing, what changed, who approved it, and what happens next?